The Mac color picker guide

I've been using OSX and macOS for decades, and I still find new features that have always been there. New features that change how I use my Mac on an everyday basis. The color picker is one of those tools.
The macOS color picker is the panel that shows up when you click a color well in a native app. We've all used it to pick a quick color, but did you know it's an entire little app capable of solving many tasks you may be using a paid third-party app?
Using the Mac color picker
It's sure is a battle-tested little tool. It started its life in its current form no less than 23 years ago, when the iconic colored pencils first appeared. Since then, hundreds of millions of users have upgraded and shaped it. Once you peek under the surface, you start to see the richness of the features it offers. Some of them are very well hidden!
Anatomy of the color picker
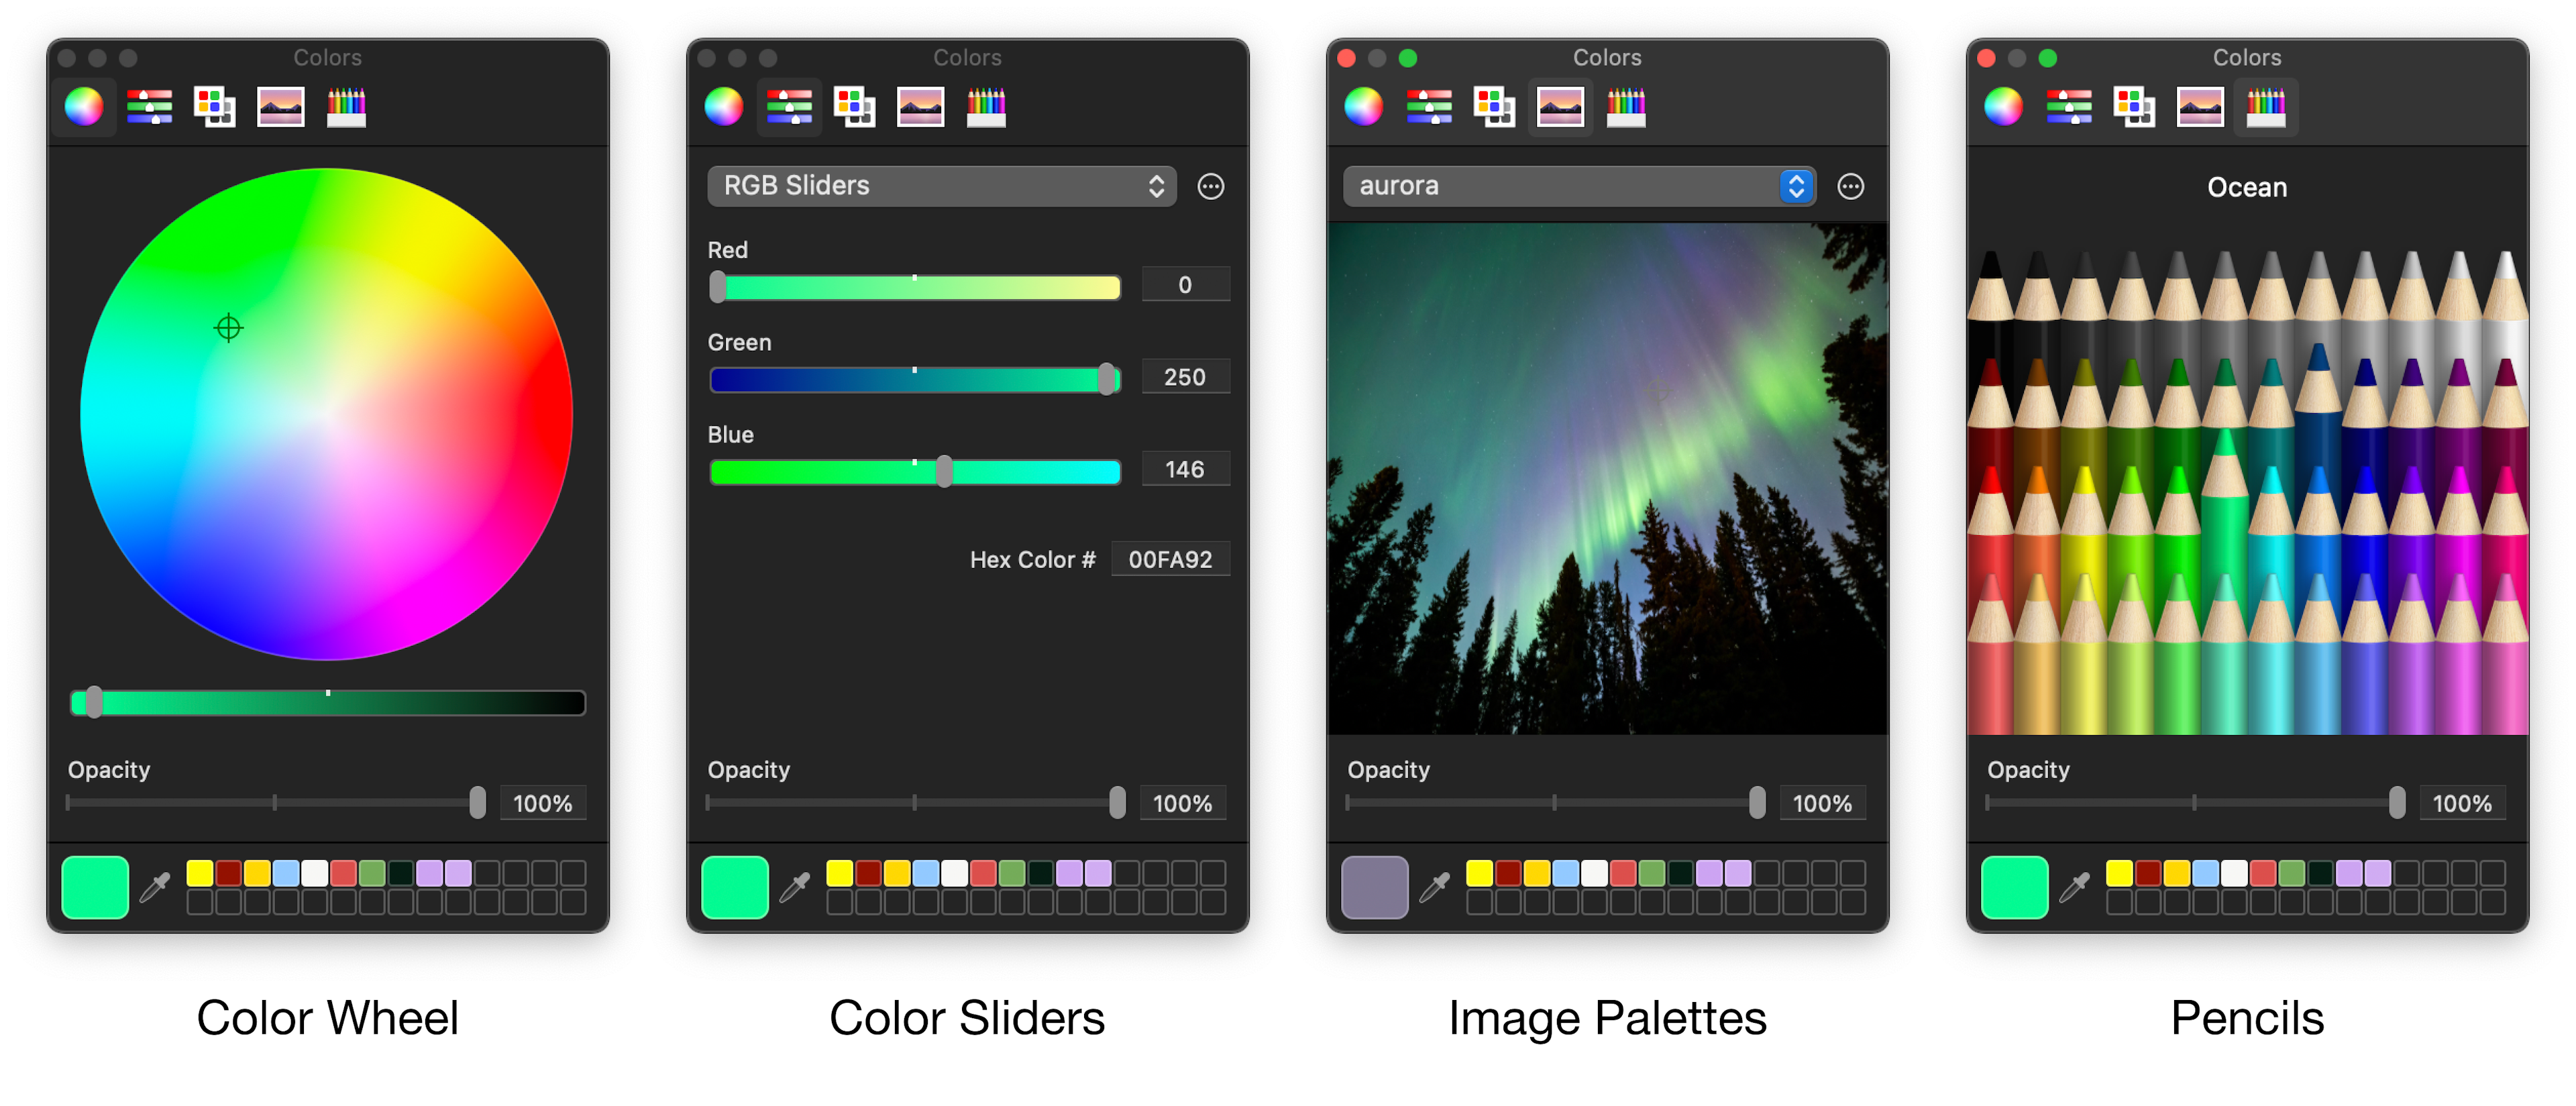
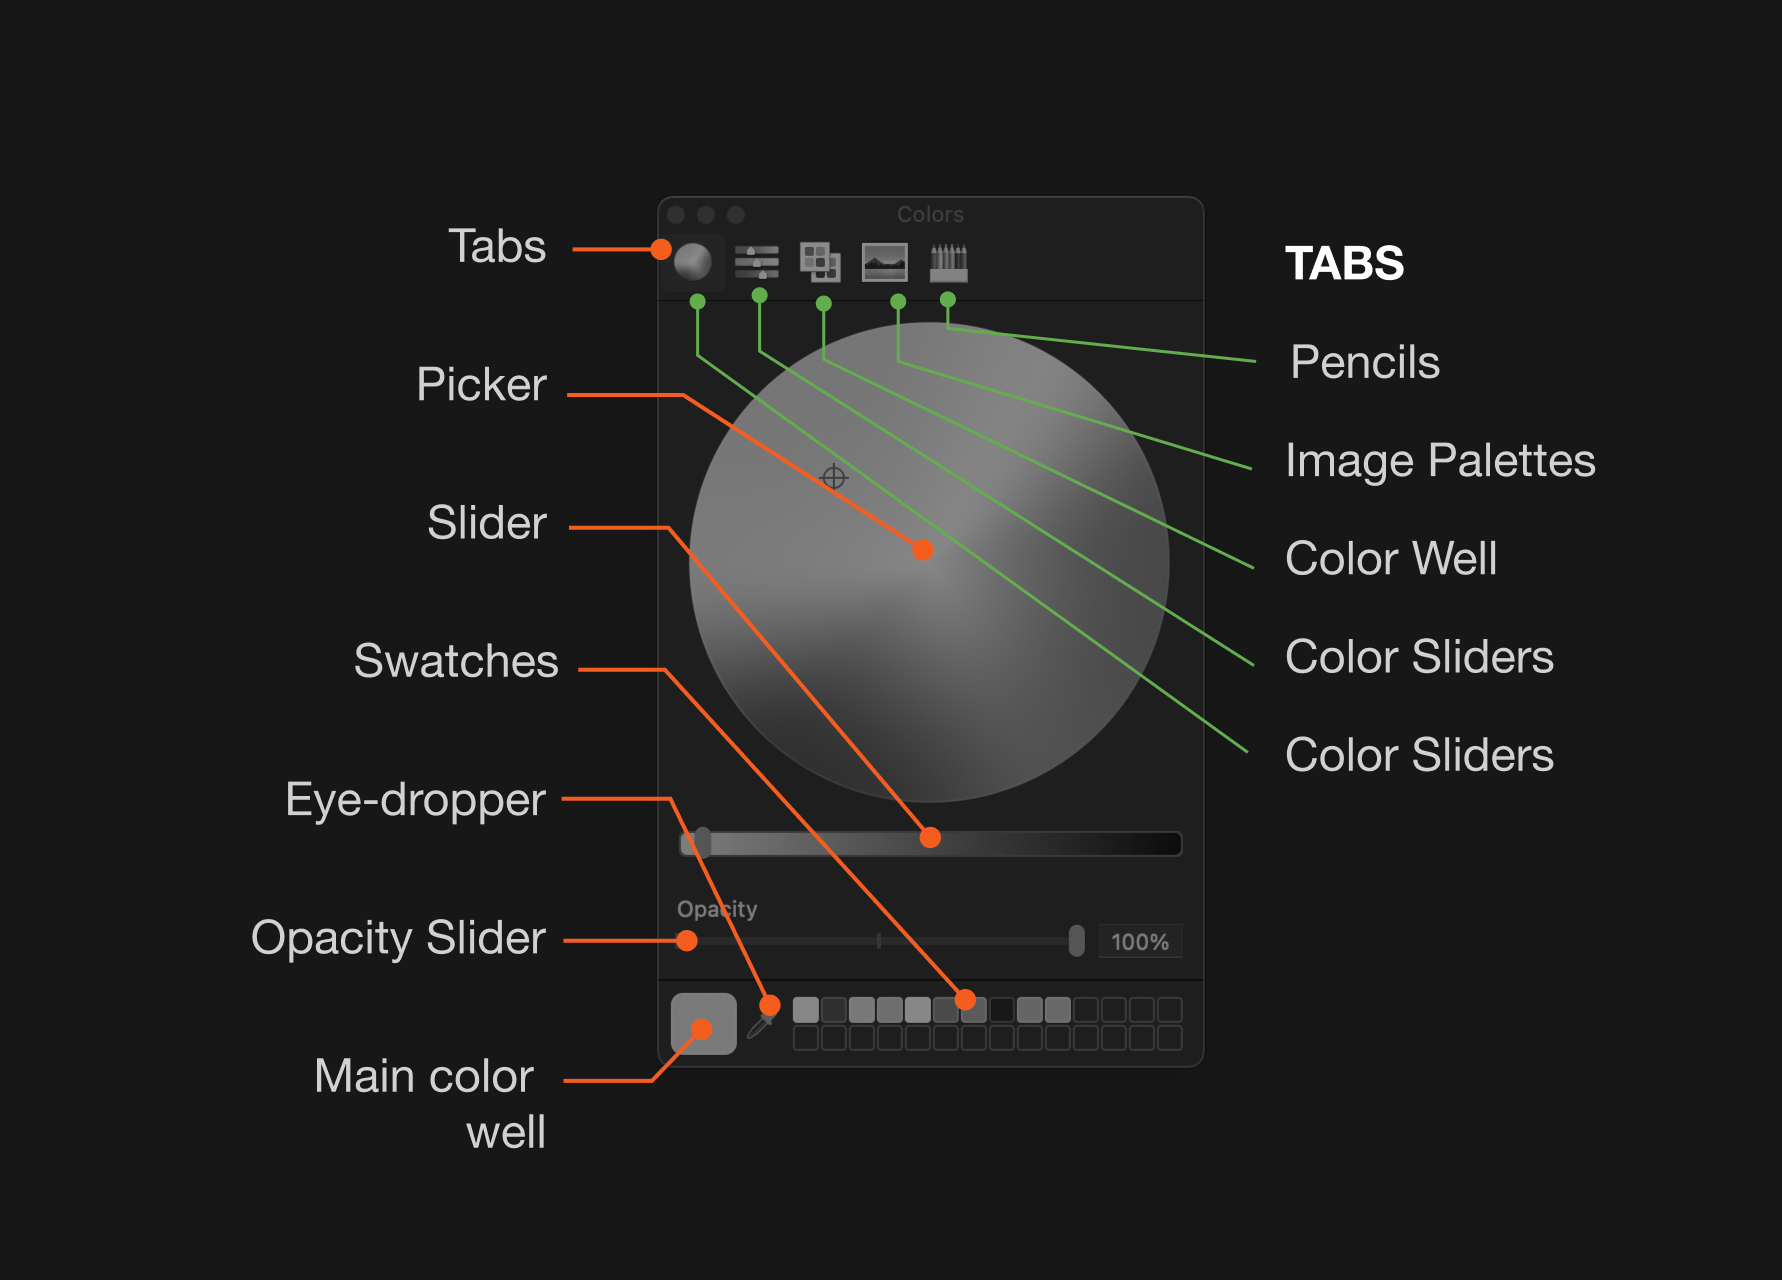
We'll be referring to the various parts of the color picker by name, so let's start by defining what each area is called:
How to bring up the color picker
The Mac color picker is not a stand-alone app. It's the small window panel that appears when you click a color in a native app like Pages, Keynote, Notes, TextEdit, and hundreds of thousands of native third-party apps.

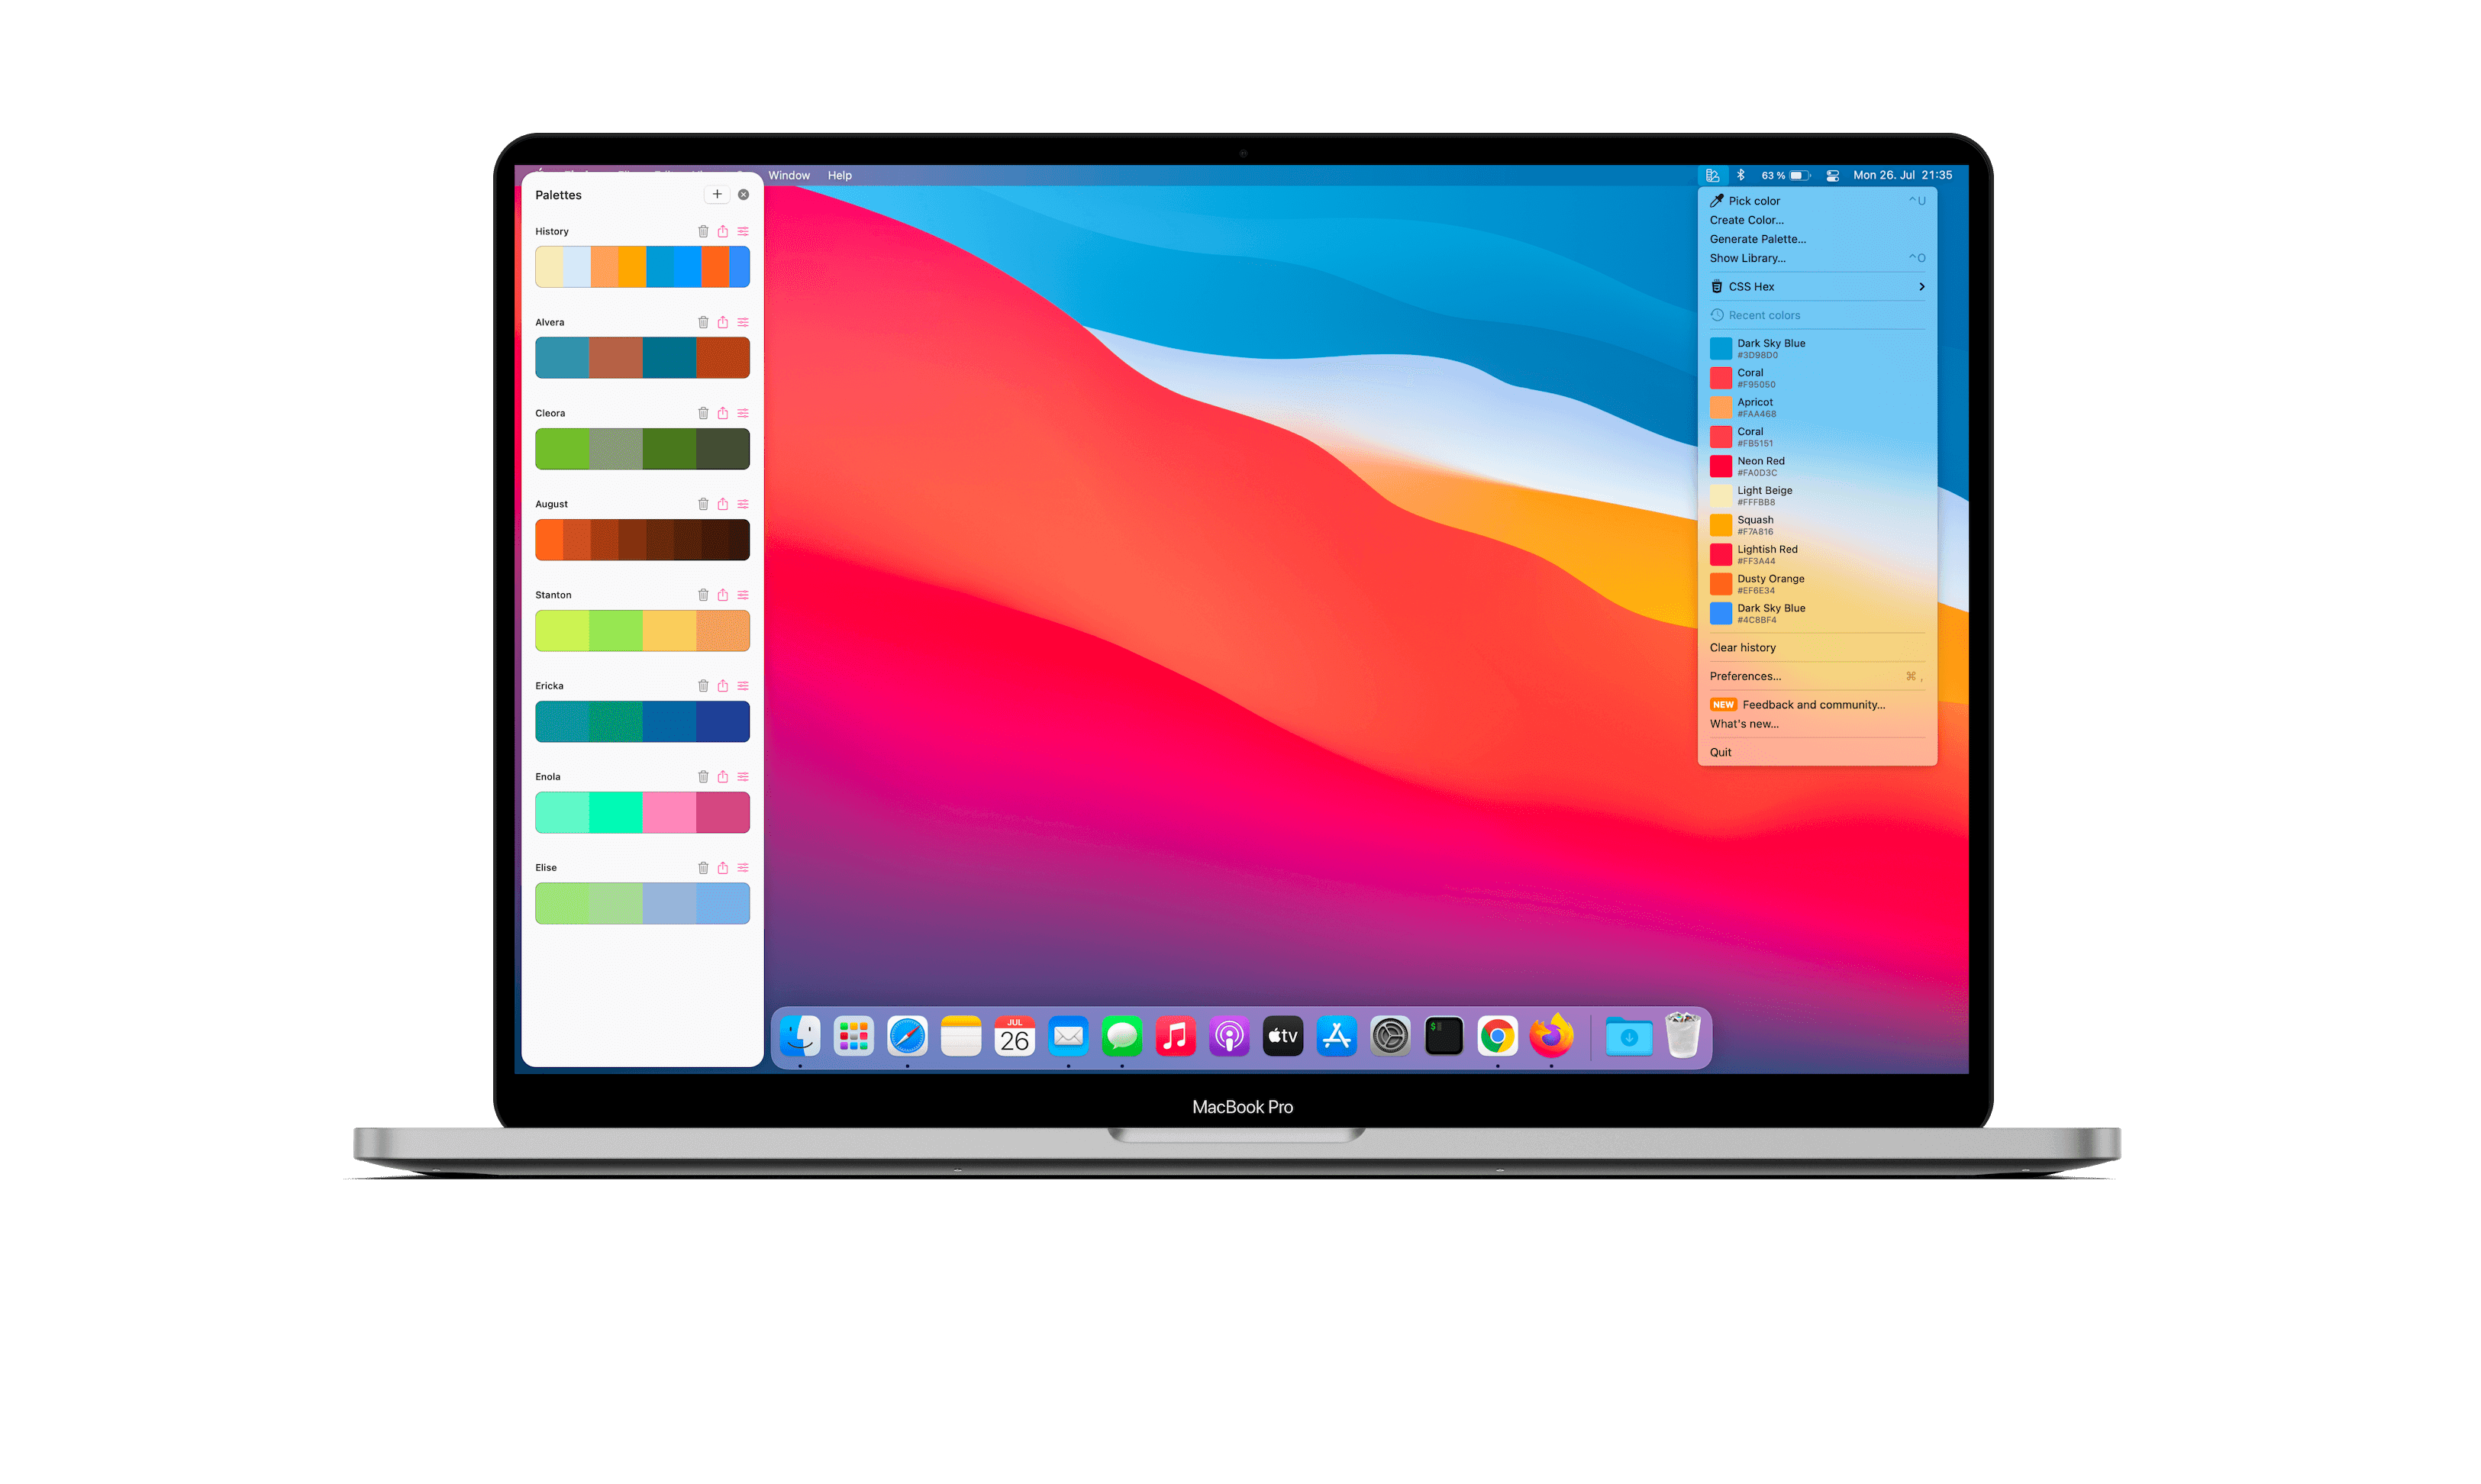
Even though the picker was not designed as a stand-alone app, it doesn't mean you can't get it into the dock and launch it by itself. The free System Color Picker does this, adding a few features that make it even easier to copy colors in various formats.
Picking colors
You've most likely been there and done that, so I'll keep this quick. Just click the eye-dropper next to the main color well, and click anywhere on the screen.
From the screen
You can use the eye-dropper to pick any color on the screen as you hover over the elements.
- Click the eye dropper next to the main color well at the bottom of the picker
- Click anywhere on the screen to pick a color
- Optionally, press Space to see the current RGB colors as they change in real-time
Using the color tools
These are color tools just like you're used to from e.g. Adobe apps: color wheels, HSL, RGB, and so on. Here's a video:
Finding an average color on the screen
There's yet another color tool installed on your Mac from the factory. It's called the Digital Color Meter, and it does most of the things that the color picker has evolved to do—except one thing: it can pick an average color from what Apple calls an Aperture size, which you could translate to "pick from a larger area than just one pixel."
Here's how to do it. First, a video:
- Open Digital Color Meter (it's already installed on your Mac)
- Adjust the Aperture size
- Hit Cmd+Shift+C to copy the hex color to your clipboard, ready to paste in e.g. Figma or your CSS code.
Changing color space
You can choose any available color space. In the Color Wheel tab, right-click the wheel to see all color spaces and pick the one you need. In the Color Sliders tab, click the overflow icon next to the dropdown.
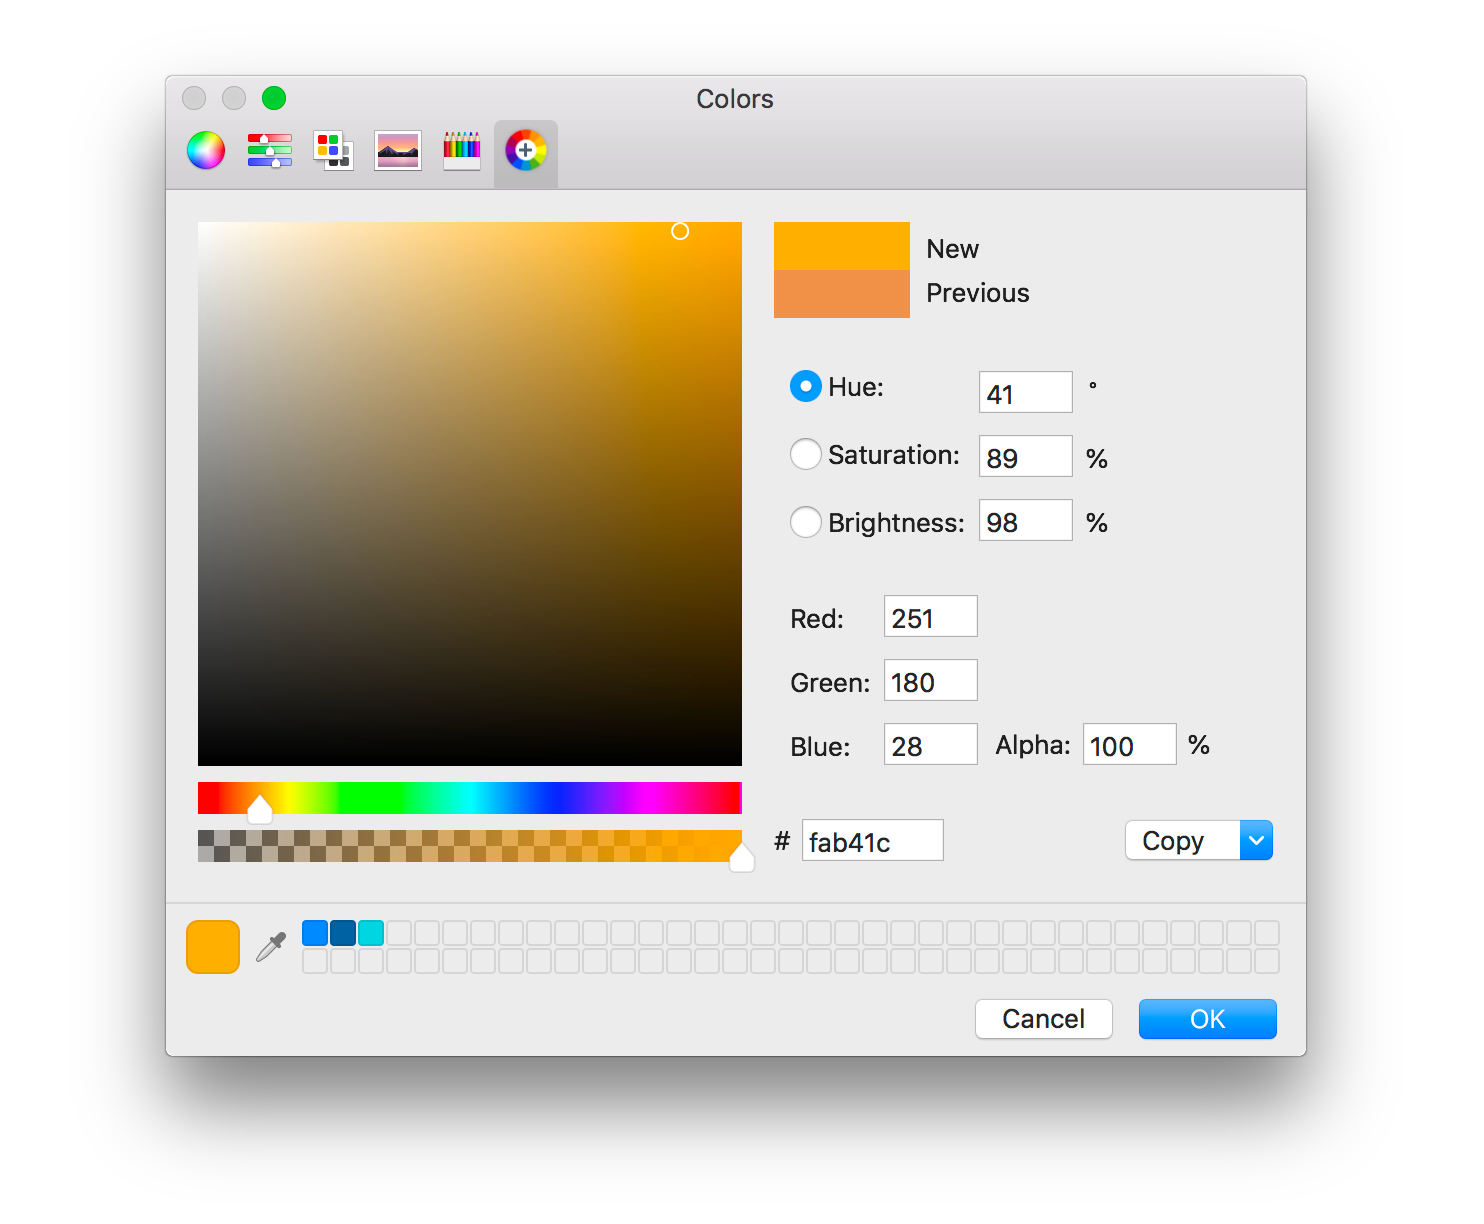
Using the hex color picker
Hex colors are close to unavoidable when working with web development. As a designer, your front-end engineer might ask you for hex colors. As an engineer, you probably know them from your CSS stylesheets.
Finding a hex color on the screen
- Use the eye-dropper to sample a color on the screen
- Go to the Slider tab.
- Choose RGB Sliders in the dropdown.
- Copy the value from the Hex Color # field
Entering a hex color
You can use the color picker if you already have a hex color and want to tweak it. Here's how:
- Go to the Color Sliders tab.
- Choose RGB Sliders in the drop-down.
- Below the sliders, paste your hex code into the Hex Color # text field. You can paste with or without the leading `#` character.
- Use any of the other tools or tabs to tweak your color.
You know what? We almost can't talk about tweaking colors without getting into the world of color schemes. So, let's dive in!
Making color schemes
If you're a designer, you've probably made a color scheme or two. One way to do it is to use color theory. If only there were a quick and easy way to find a complementary color or create a monochromatic scale. Well, you could use one of the many online color scheme generators like Adobe's or Canva's generators.
But one thing many people don't know is that the Mac's built-in color picker can help you with finding both monochromatic colors and complementary colors.
Finding a complementary color
Complementary colors are an essential design tool. It lets you find a color that really stands out when used with an original color. Like green and yellow. But how do you find a complementary color?
- Pick a color using any of the above methods.
- Go to the Color Wheel tab.
- Hold the Shift key and drag your mouse in any direction. This locks the color picker and lets you easily slide the selected color over to the complementary color in the desired brightness.
Finding a monochromatic color
Monochromatic color schemes use the same base color with varying values for saturation, brightness, or both.
- Pick a base color using any of the above methods.
- On the Color Wheel tab, hold Option while you click the Brightness Bar to move in 0.5% increments.
- On the Color Sliders tab, choose the HSB Sliders option in the dropdown and hold the Option key while you click anywhere on the Saturation or Brightness sliders to move in 0.5% increments.
Now that you know how to pick colors and make color schemes, you might be wondering how to save these colors so you can use them later. Let's take a look.
The color swatches
This is the collection of colors always at the bottom of the picker. You can think of the swatches as your "Color Desktop." This is where you put colors you often use or where you put colors temporarily because you want to use them later.
Add a color to the swatches
To add a color to the swatch panel, drag the color from the main color well, showing the currently selected color.
Remove a color from the swatches
This one is a little tricky until you figure out how it works. It's tricky because the host app (e.g., Keynote) might delete something if you try and hit the backspace key on your keyboard. Right-click also doesn't work. The trick? Drag and drop to trash!
Move a color in the swatches area
This one's simple: Drag the color to its new position. This follows the neighbor principle: you can only drag a color to where another color is living next door.
Color palettes
The color palettes feature is powerful because it lets you define color schemes you can use across almost any app on your Mac. This is really handy if you're moving across apps a lot, which most of us do.
Built-in palettes
Apple has built in a few useful palettes right from the factory:
- Crayons Palette gives you the same colors as on the Pencils tab, but you can see them in a list with names like Sea Foam, Magnesium, and Snow.
- The Apple Color Palette is a series of high-contrast and interesting colors you can use for many things. They are optimized for readability when combined with black or white as foreground or background.
Developer colors
I want to call this out as it's helpful if you're designing for macOS or iOS. The Developer colors are handy for knowing what the name of the color is. Just tell your developer the name, and they'll know exactly what to do with it. But there's more! Semantic colors on Apple's operating systems are quite magical. They adapt to light mode and dark mode. Check it out:
But let's get to the fun part.
Create a palette
There's a high chance you're working with at least one CVI (corporate visual identity) and that it has a defined color scheme that you're supposed to be using across all your deliverables. You can get those colors right into the color picker.
Let's make a system-wide palette using Gmail's iconic faded primary colors in this video:
- Pick the first color to add to your palette using any of the methods above.
- Go to the Color Palettes tab in the color picker.
- Click the overflow icon to the right of the dropdown.
- Chose New...
- Click the overflow icon again and choose Rename...
- Enter a name for your palette, e.g., "Acme Industries."
- Double-click or single-click, then Enter on each color to name them individually.
You now have your very own color palette in the system-wide color picker. Not bad! But it only has one color. Let's change that.
Add colors to a palette
You can add colors by dragging and dropping. Here's how:
- Go to the Color Palettes tab in the picker.
- Choose the palette in the dropdown to which you want to add a color
- Pick a color with the eye-dropper or drag a color from the main palette.
Remove colors from a palette
- Drag the color you want to remove to the trashcan icon in the doc
You can also select the color and click the Minus button.
Saving a palette for sharing or backup
So, you spent hours making the color picker yours and want to take a snapshot or maybe share your setup with your team. You can!
While you can't export directly from the picker window, you can make your backup from Finder. Here's how:
- Open Finder.
- Press Cmd + Shift + G or go to Go > Go to Folder.
- Enter ~/Library/Colors/ in the box that appears.
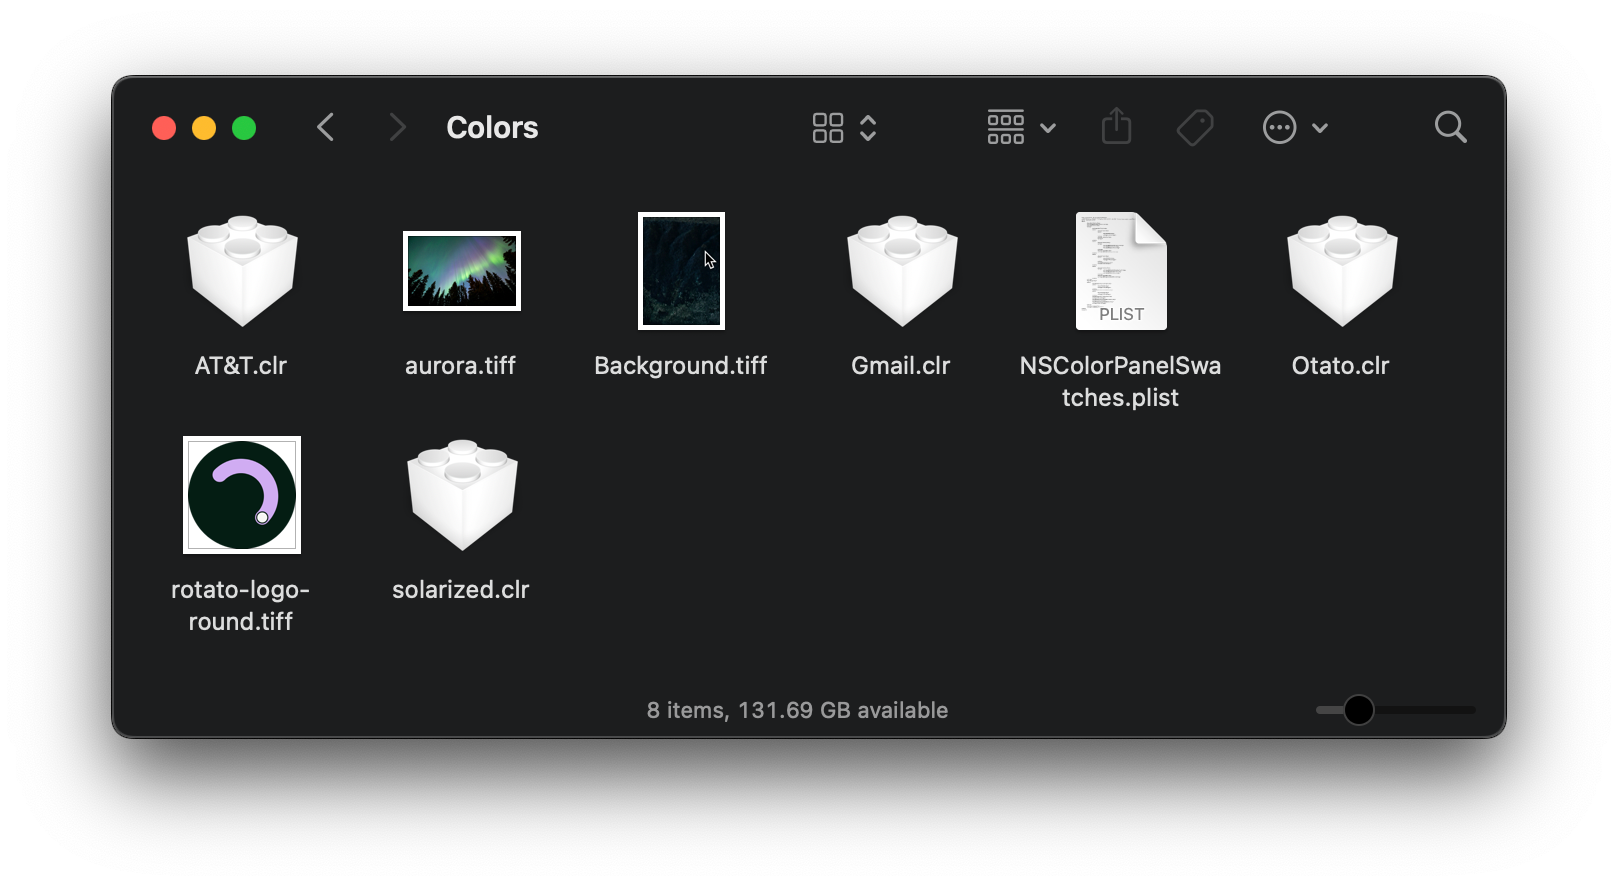
The Finder window will now show you various files depending on how much you've customized your color picker. Here are a few examples:
- .tiff files for the images you've dragged or pasted in to make Image Palettes.
- .clr files for the color palettes you created.
- NSColorPanelSwatches.plist contains your swatches.
Here's my Colors folder
Opening a backup
This is a bit easier as it's fully built into the color picker via the menus.
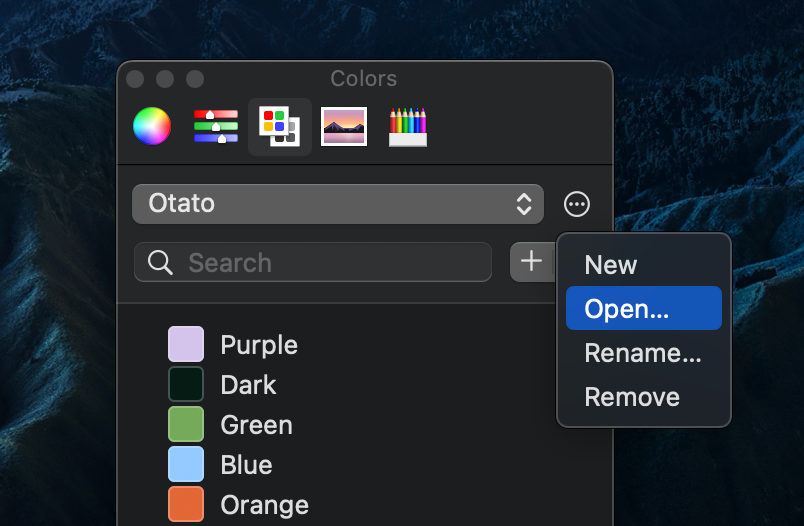
- Go to the Color Palettes tab.
- Click the Overflow icon and choose the Open... item.
- Choose your .clr file.
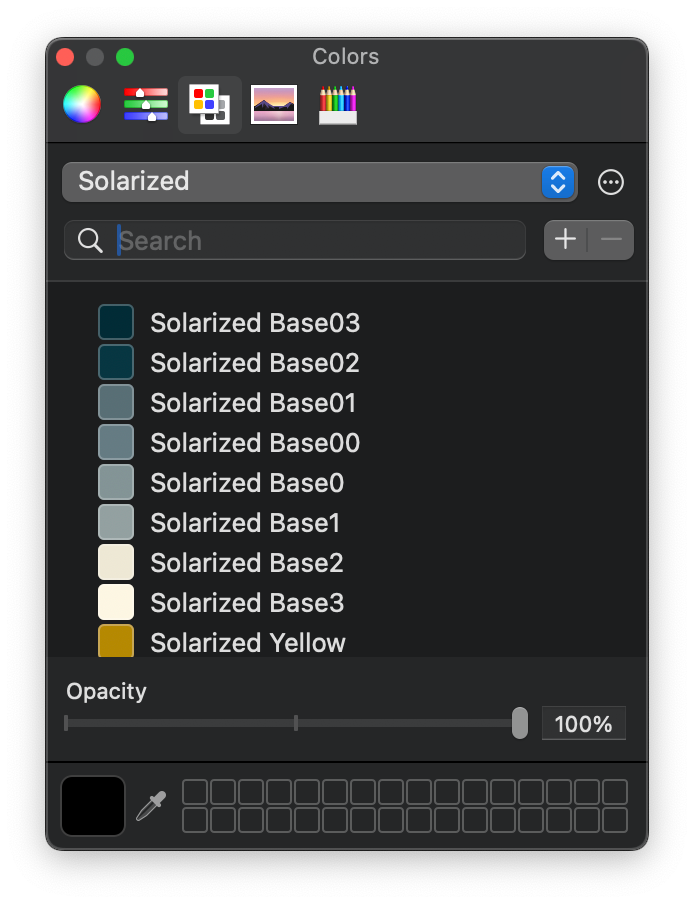
If you're curious, you can grab a .clr providing the colors for the popular Solarized theme: Download Solarized .clr palette. This is what it looks like
Making palettes from images
As you've probably figured out by now, you can use the eye-dropper to extract colors from images on the screen. But there's another way to do this. It might come in handy if you have an image with many colors and want to pick random colors from it occasionally.
Adding an image
- Go to the Image Palette.
- Click the overflow icon and choose New From File or New From Clipboard.
- The image appears, and you can now pick colors from it.
You can rename the image using the overflow icon as well.
Extensions
Believe it or not, the color picker can be expanded with plugins. Mac developers can create new tabs, showing exactly what they want in those tabs. Let's take a look at a few quick examples.
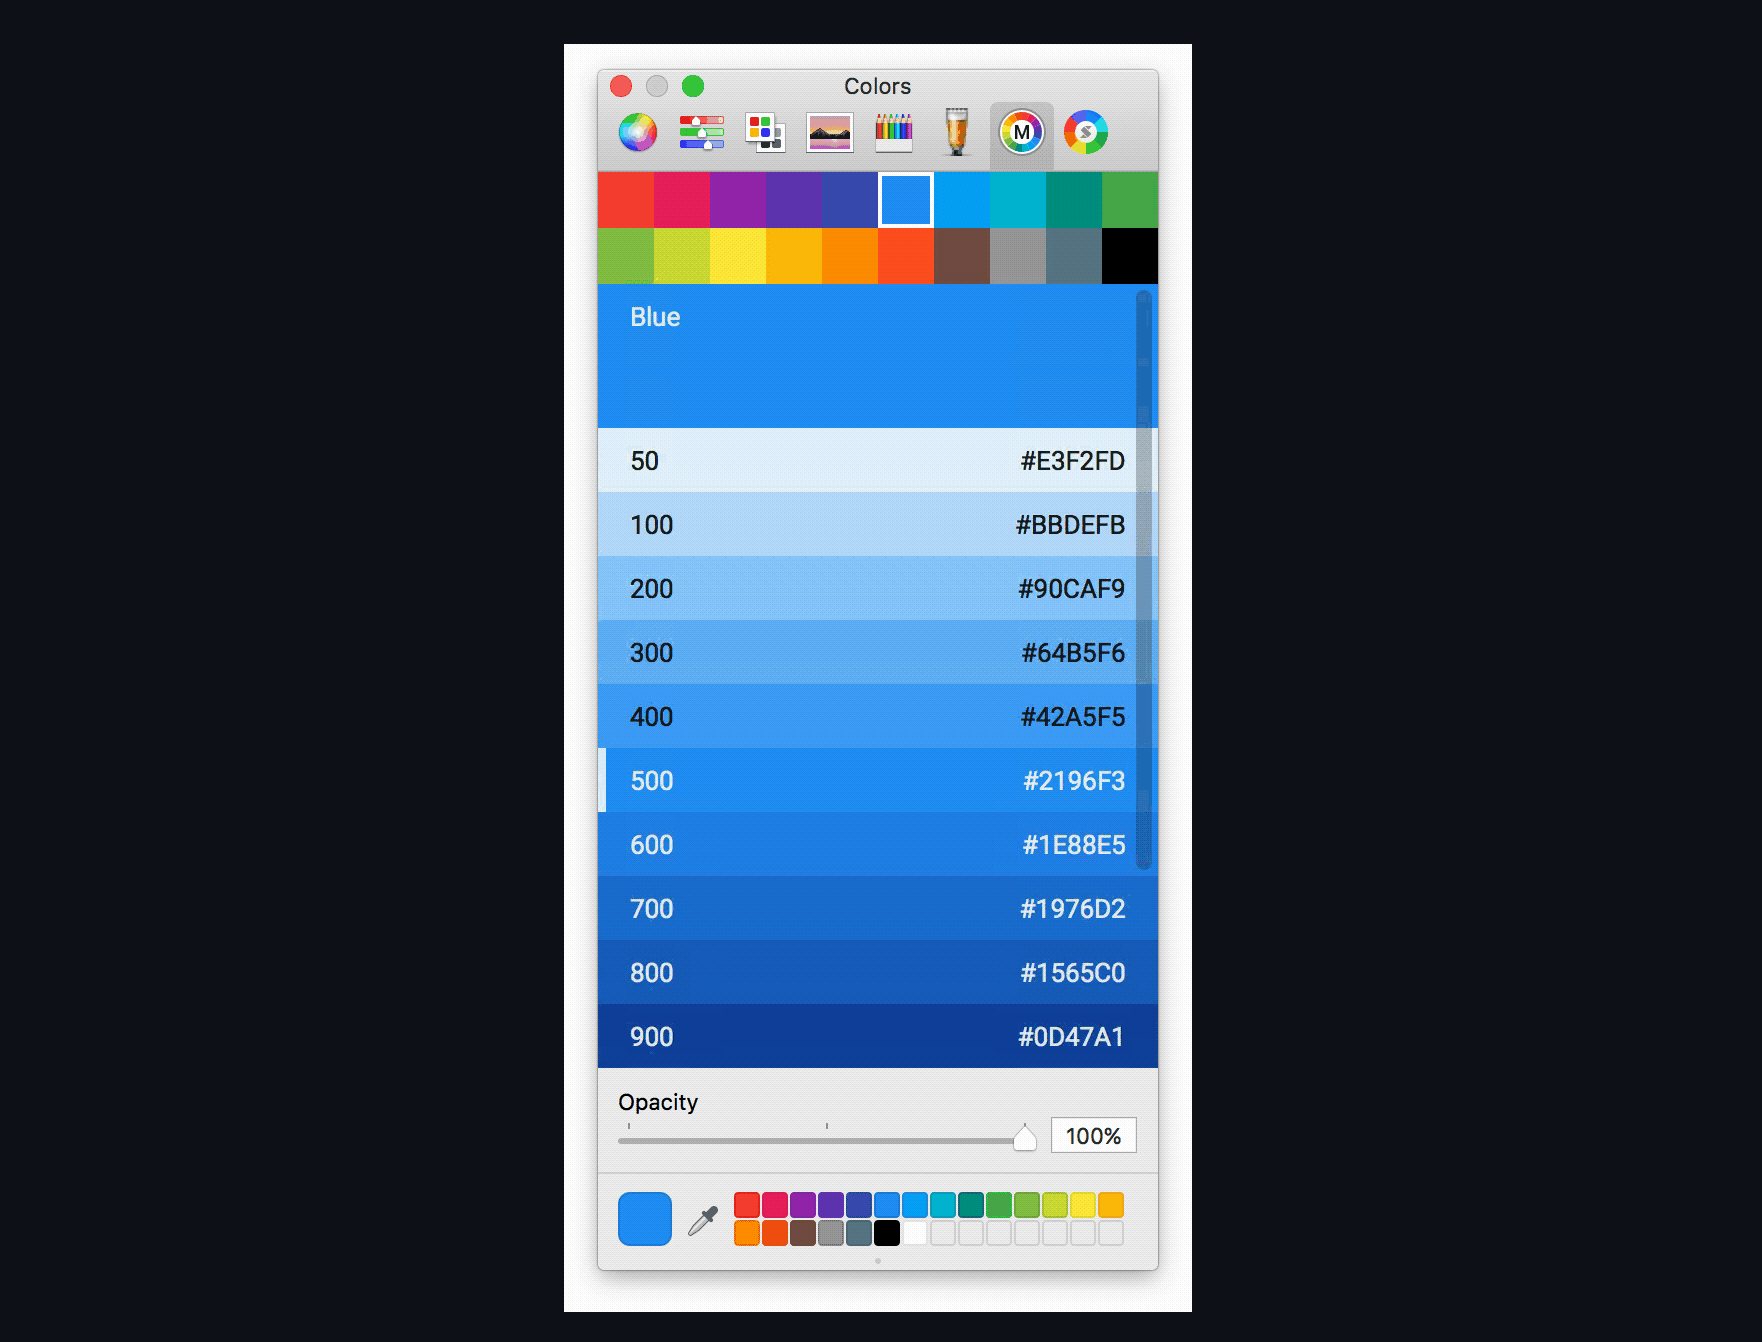
Material Design Color Picker
This plugin puts Google's material design colors into your picker. You get the values you're used to seeing in Material 2. It's unclear if the developer will support the latest Material 3 color schemes.
Extension: Material Design Color Picker
Color Picker Plus
If you're a real Photoshop fan, this one's for you. It puts the classic Adobe color picker into thousands of native apps using the Mac's picker.
Third-party alternative color pickers
System Color Picker
The name is not as misleading as it sounds. This is the system color picker as a stand-alone app that can sit in your dock. It's free and open source and also adds handy features like copying colors in various formats.
Free app: The system color picker

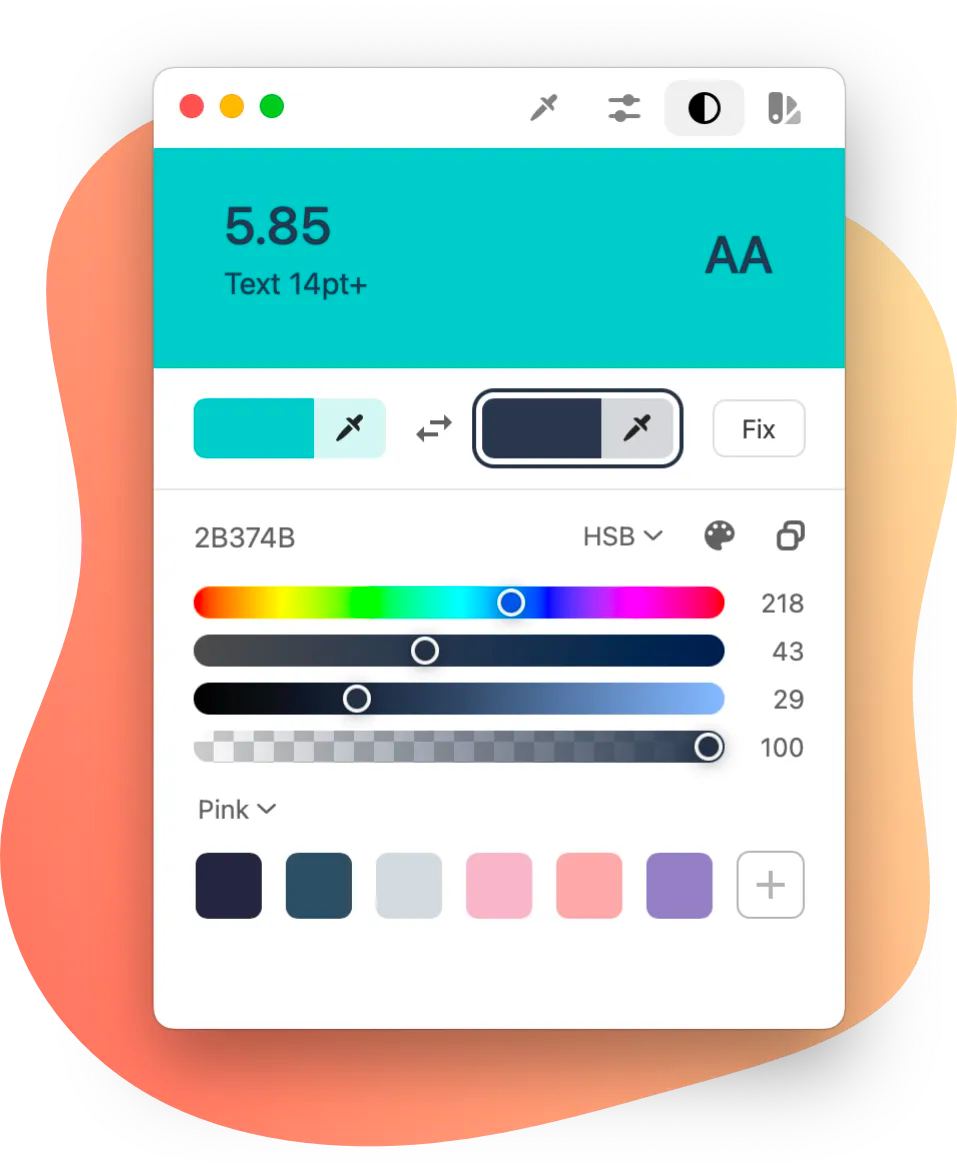
Color Slurp
Most of the features in this app are just another take on the system picker's features, but there are a lot of other features, like checking for accessibility contrasts, which is a must these days.
Pikka
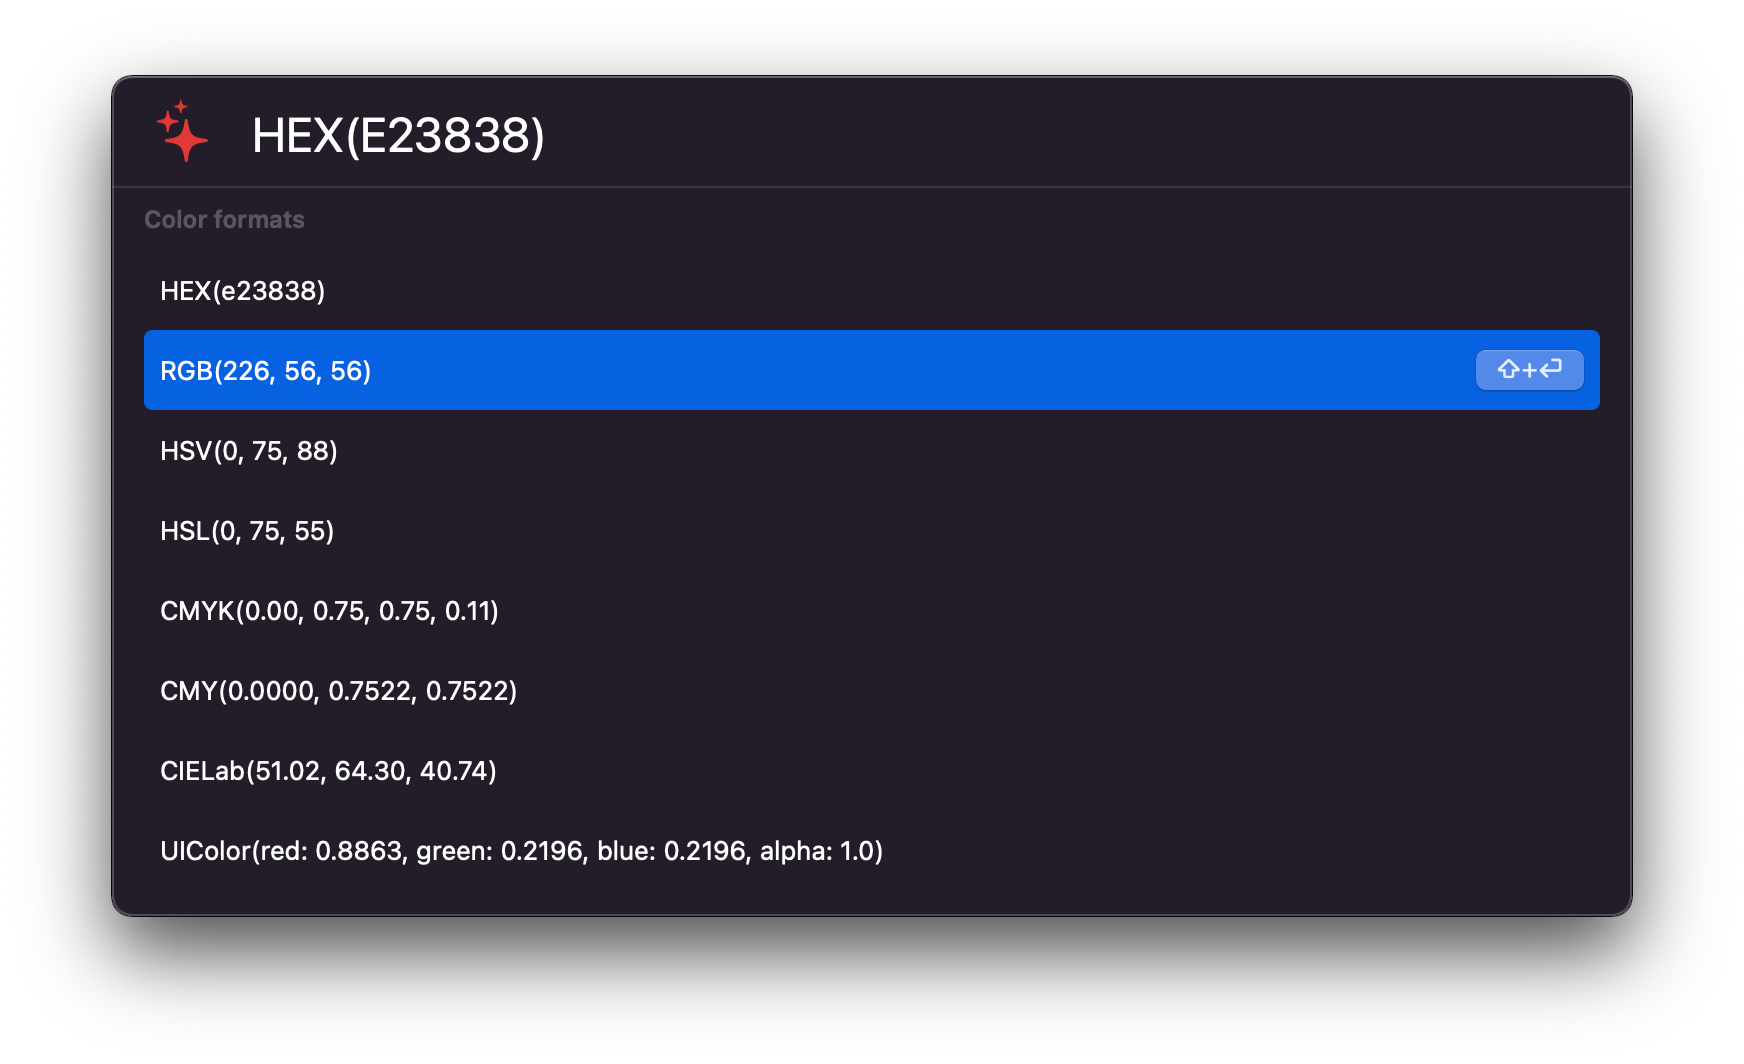
This paid app takes color picking to another level with a rich set of features like Contrast Checker, Color history, Color palette generator, Color sorting, Color format search bar (see below), Color exporter, and more. Worth checking out if you're working with a ton of colors all day.
MacOS color picker for VS Code
If you're writing a lot of CSS, you will like this. You can get the Mac color picker right where you write code.
macOS Color Picker (VS Code extension)
Such a small window, so many options
This is what you get when an almost 30-year-old feature lives a quiet but happy life in macOS. Lots of features packed into a tiny and elegant UI. That's just a good design right there. So maybe another level of inspiration is waiting for you here, beyond the colors.